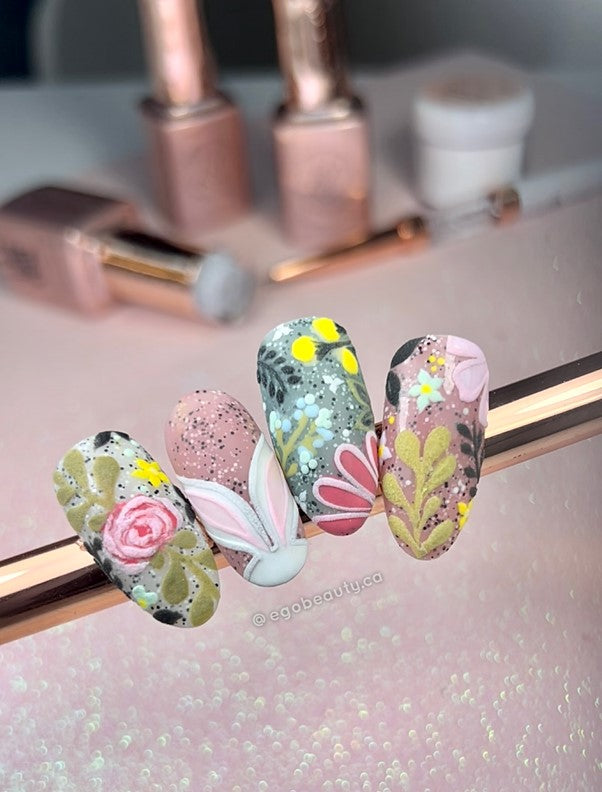
The Fall season is on the horizon and as we approach the end of the summer, all I can think of is in ways to transition from one season to the other, thankfully for us nail lover people, with this month's release of Koko & Claire Fall Alcohol Inks, the task has just gotten easier!
Im Giselle from @egobeauty.ca and in this occasion I am bringing you a very cool tutorial on how to create a stunning design that involves very little effort yet it gives an over the top look by combining metallic notes with glitter, matte finishes and effortless application #easynaildesigns am I right? 😃 💅 💗
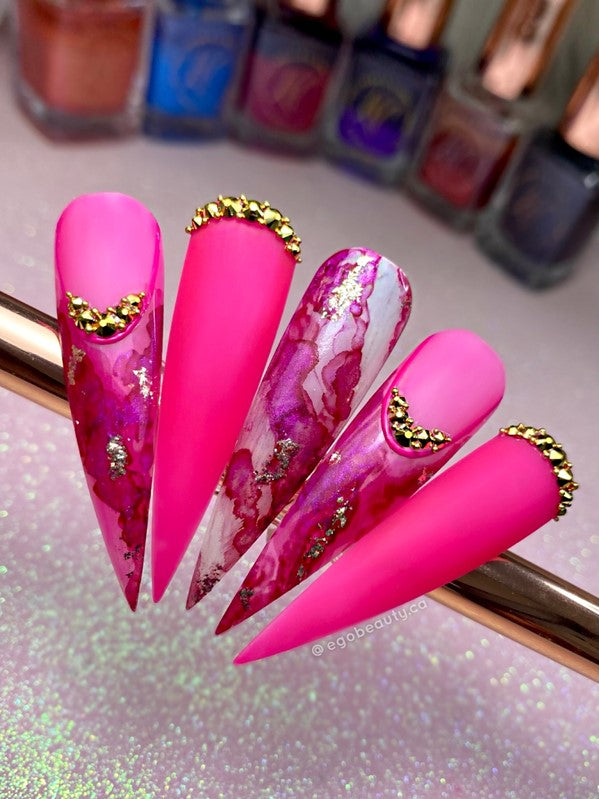
Stay with me and keep on reading because not only will I show you how to create a watercolour influenced design but also an optional full blinged out alternative for those of you who may want to elevate this design with the addition of embellishments.
First things first, here's a list of what you will need to recreate this showstopper look:
- Your favourite color of Koko & Claire’s Fall Alcohol Ink I’m using “Raspberry-M”.
- A matching, or close enough, gel polish I am using Koko & Claire’s #93 Pink Berry.
- Foil or glitter I’m using gold.
- Your favourite crystal I chose gold to match the glitter accents.
- K&C Shine Top Coat
- K&C Matte Top Coat
Now, onto the steps! ⬇ ⬇ ⬇
(Click here to watch a video demo of this technique)
Step 1:
The first thing to keep in mind, when working with these alcohol inks, is that they better apply on a non-sticky or matte top coated surface. So start by applying and curing your base colour (I used a thin layer of #93 Pink Berry), then wipe off the sticky layer using Cleanse and a lint free wipe.

Step 2:
Start by giving your Koko & Claire alcohol ink a really good shake before working with it, shake shake shake! You want all the pigment to mix very well with the solution in the bottle.
Now, let’s dive right into the alcohol ink application and proceed by “swiping” the ink with the brush onto the nail, one layer at the time.
- Pro tip: When working on layers using alcohol inks, it’s important to let the current layer applied dry for a few seconds before proceeding with adding any more


Also, try “dropping” the product by just simply dabbing with the brush in a touch and go motion to place the individual drops of ink on the nail.


I like to mix in between “dropping” and “swiping” the ink, be strategic and leave some areas with no ink at all while saturating others, this will give your design a more organic look.
Step 3:
At this point you could very well top coat your nail and finish but if you want to take it a bit further, then follow me. Using your favourite glitter or foil gel, apply a few specks on the nail, I like to focus the glitter where there is a bit more saturation of the ink.

Once you’re happy with the outcome then go ahead and cure to set the glitter in place and finish off with Shine top coat.
- Pro Tip: When applying your top coat, make sure to not put much pressure with the brush, instead float your brush to prevent smudging or dragging the ink with the bristles.

So That’s it!! Now you’re done. A gorgeous watercolour inspired design with a touch of glam.
✨
(Click here to watch a video demo of this technique)

But wait! You may be wondering, “Giselle, where is the blinged out option you promised us?!”. Well, here we go! Keep on reading for details on how to take the watercolour design to the next level…⬇
Step 4:
Once you have your shine top coat cured, apply Matte Top coat and create an oval shape on the nail plate, think of a French tip design, the pink part of the French is where the matte should go. Cure your matte coat.

Step 5:
Using K&C Detail Brush #3 and a matching color gel paint (tack free works best), outline the smile line of the matte section and cure.

Step 6:
Using your favourite jewelry gel or glue, apply gold crystals (or your preferred colour of crystal) on the centre of the smile line. I like to place my crystals close together and add caviar beads in between the crystals to give it an encrusted diamond vibe, this will resemble the prongs that hold the diamonds on jewelry pieces.


You may combine this watercolour inspired technique with a few solid color nails and you’ll have a complete set that’s ready to impress!! 💅 💗 😃

What do you think of the final look?? I know I sure love it!! 💗👏💅✨
Quick and simple designs are a must have for busy days in which time can be a constraint and the K&C Alcohol Inks Fall Collection is here to help us create showstopper designs with a very fast application that requires little effort, yet if you’re looking for a more elevated version, adding crystals and a mix of matte and shiny sections will definitely do the trick.
I hope you’ve enjoyed this tutorial, make sure to give it a try and when you do please tag @kokoandclaire and me @egobeauty.ca on social media so we can see and share your beautiful creations.
Until next time, stay creative!! Xxo Giselle 💗💗💗