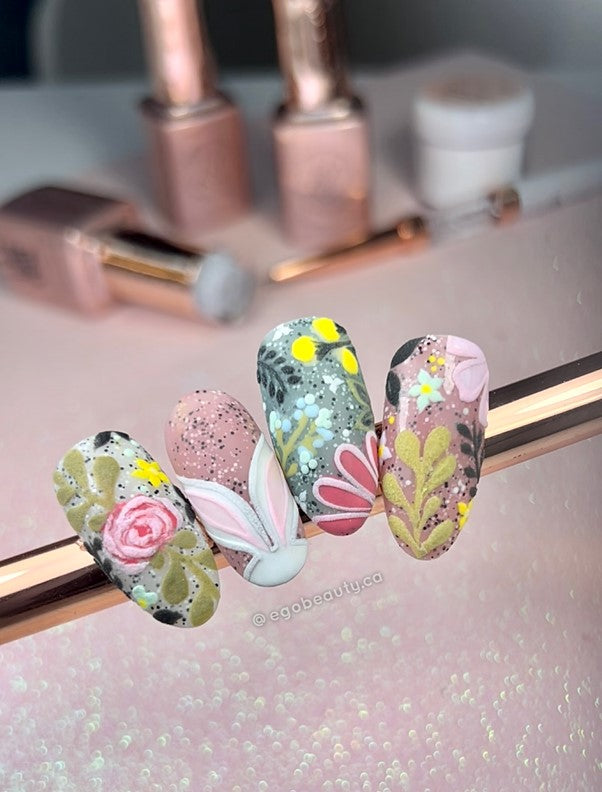
Im Giselle from @egobeauty.ca and today I will show you how to create a sassy and modern look featuring K&C’s classic colours!
First things first, here's a list of what you will need to recreate this look:
K&C gel polishes:
#346 Chestnut (from the “In the buff” collection)
K&C Chrome Palette #1
A medium detailer brush (K&C Detailer #3 works great).
Nail art powder (I’m using the one in my K&C’s sweater nail kit).
K&C Matte Top Coat
K&C Shine Top Coat
A medium detailer brush (K&C Detailer #3 works great).
Nail art powder (I’m using the one in my K&C’s sweater nail kit).
K&C Matte Top Coat
K&C Shine Top Coat
Now, onto the steps! ⬇️ ⬇️ ⬇️
Step 1:
Start with a base of your favourite shade of nude gel polish and cure, I am using #088 Sparkling nude, a gorgeous shimmering nude. I wanted to stick with something a bit more on the neutral warm or yellow tone so the design pops more but you may use the nude of your preference. Make sure to do as many coats as needed for full opacity and finish off with Shine Top Coat.

Step 2:
Next, we’ll be creating a multi-pattern design starting with the base for what is later going to be a sassy animal print pattern. Using K&C Chrome Palette #1 pick up a bit of the chrome with the applicator and rub it on the nail until you have covered a section of the nail.

Keep in mind that you must use a no wipe top coat like K&C’s Shine, prior to applying the chrome powder, otherwise it won’t stick properly.

Once you’re happy with the coverage, go ahead and dust off the excess.
Step 3:
Well be creating 2 more color sections. With your detailer brush, outline the first section using #017 Spicy chili and then go ahead and fill it in, you may use the brush applicator directly from the bottle and cure.


Repeat the process with a different section but this time using #049 Frosting, remember to first outline (don’t cure yet) and then fill it in. I like using my detailer brush to fill on smaller sections with more precision. Cure before moving to the next step.


Step 4:
Now that we have the base for our patterns, we’ll get on to adding all the detail in two layers.
- On the first layer we’ll create the vertical lines for both plaid designs, using #242 Shaded glass and a detailer brush create some thin vertical lines on the red portion and make sure to place them apart equally.


Then create thicker lines on the white section and cure.

2. For the second layer repeat the process with horizontal lines, make sure to place them apart equally on both patterns.

3. Then on the chrome section, using #346 Chestnut (from the “In the buff” collection) and a dotting tool, create a few speckles that will be the base for our animal print design


Once done, go ahead and cure this layer and finish off with top coat, you can use either Matte or Shine but if you’re feeling extra adventurous like me, you may use shine on the chrome section and matte on the rest.
Step 5:
We’re almost there… Time to take this design to the next level. Create the animal print pattern using your dotting tool and #050 Total eclipse, add bigger speckles around the brown spots and don’t cure yet.


Using K&C’s Nail art powder, we will emboss the design by sprinkling the powder over the black specks, make sure to sprinkle lots and give the powder some time to settle, it shouldn’t look wet, if it does, sprinkle some more. Then, while the powder is still over the design, go ahead and place under the lamp to cure.


Once fully cured you may dust off the excess powder.
And voila! We’re done 🤩🤩🤩


