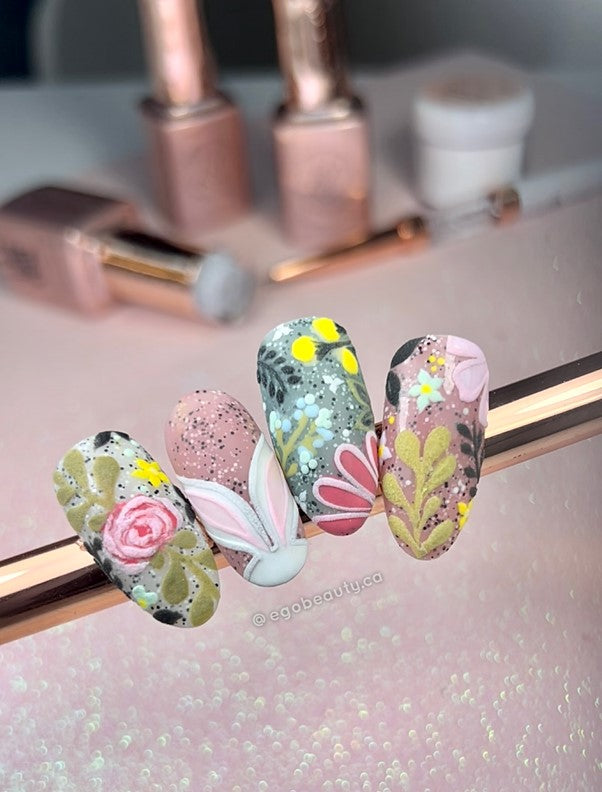
KoKo&Claire has so many fun gel polish colors to bring to your life. It's a user friendly gel polish line that was created for the consumer who wants to pretty up their own nails & toes to the certified nail technician who wants more of a variety of colors for their clients. It's quality is second to none which provides longevity and durability.
Koko&Claire is easy to use and safe to use on children. It was made to help create amazing gel manicures while keeping the health of the natural nail in mind. Our soak off system makes it easy and safe to remove without damaging the natural nail.
In order to use KoKo&Claire as a soak off option, it is important to use the following products with the proper steps:
Our Intro Kit is the best complete kit to get you started. We do offer other kits that come without the LED light if you already have one. A UV light will work as well but your curing times will be longer. A UV light requires 2 minutes of curing time where as an LED light takes half the time. That is something to be aware of when using our line. As Support for KoKo&Claire, I get a lot of questions as to why their gel is still sticky. 9 times out of 10 it is because it hasn't been cured long enough. If you're using an old light and your gel isn't curing, it's likely you need to change the bulbs because they lose effectiveness over time. The average lifespan of a UV nail bulb is 1000 hours.
The proper steps to follow to get the most wear out of your gel polish manicure are as follows:
1. Buff the shine off of the natural nail
2. Dust off the nails to insure they are clean before applying any product. Dust or lint on the nails can affect how the gel polish adheres to the natural nail.
3. Apply Clean to the nails without coming into contact with the skin. It is a dehydrator and it can irritate the skin if you flood it into the skin. It should dry to a cloudy finish. If it doesn't, apply a second coat.
4. For extra wear and to help avoid chipping of your K&C gel polish, apply Prep "to free edge only". Prep works like a glue and if you apply it to the entire nail, you won't be able to use the soak off option. You will have to buff it off and that could potentially cause damage to the natural nail.
5. Apply a thin coat of Base and cure. Keep in mind that our products are the consistency of gel polish and not nail polish. I get a lot of emails asking why our products are so thick. They are thicker than nail polish because they provide extra strength to the natural nail.
6. If you want extra strength added to the natural nail, apply one or two thin coats of Strong (curing between coats).
7. If you don't want the added strength, skip the last step and continue on with applying the gel polish color of your choice. The best way to apply the color is to remove most of the gel polish off of the brush and apply a thin "slip layer". This is a very thin layer that is almost transparent. Then, before curing, put a bit more on your brush and apply another layer and cure. Be very careful to not flood the gel polish into the cuticles. You should never come into contact with the skin because it needs to seal itself to the natural nail. If you come into contact with the skin, it will start lifting almost immediately.
8. Apply the top coat of your choice and cure. We have Shine and Matte so it will depend on what type of look that you want.
We have over 200 colors to choose from and our inventory is continuously growing! Our gel polishes are highly pigmented and most of them only require one coat. The lighter shades sometimes require two or three coats but it is very important to apply them in thin layers with curing in between to avoid bumpy looking nails.
We look forward to seeing all of your creations and the fun things you do with KoKo&Claire! Please post on IG and tag us in your pictures @kokoandclaire so that we can see all the fun! Stay safe my friends!