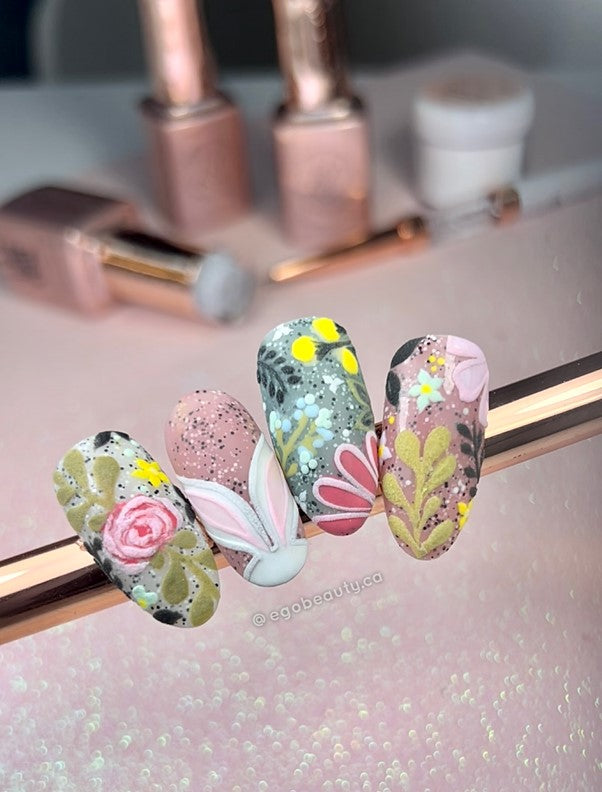
There are new nail trends happening all the time and one trend that is popular for the start of this year, is giving your nails an iridescent look. KoKo & Claire has a few products that can help you achieve this look. KoKo & Claire offers 3 different Chrome pigments that can give your nails a beautiful opalescent look. In today's blog, we will show you how different they can look with 4 different gel polish colours underneath. Certain gel polish colors will show more of a dramatic look like white, nude, light colors or black. We used the following KoKo & Claire gel polish colors to show the diversity our pigments can provide.
From left to right: 92 Where's the Party, 71 Cala Lily, 18 The Perfect Sea & 49 Frosting

From left to right: 92 Where's the Party, 71 Cala Lily, 18 The Perfect Sea & 49 Frosting

The KoKo & Claire pigment we used in this picture is our Signature pigment that provides an opalescent glow like our beautiful bottles. Look how much it can change the color underneath!


The next one we used is KoKo & Claire Eternity pigment. Eternity gives an opalescent shimmer that is a little more dominant. It has a bit of a chunkier consistency to really give it that sparkly look. Such a dramatic and stunning look!


The next one we used is KoKo & Claire Eternity pigment. Eternity gives an opalescent shimmer that is a little more dominant. It has a bit of a chunkier consistency to really give it that sparkly look. Such a dramatic and stunning look!


Our third KoKo & Claire pigment is Boujee and it is a subtle Opalescent effect that makes us think of unicorns! Make your nails mystical and magical with this lovely pigment.
Step 1: Apply 1 coat of a KoKo & Claire gel polish color and completely cure (45 seconds LED/2 min UV).
Step 2: Apply 1 coat of KoKo & Claire Shine Topcoat and only cure for 10 seconds. You need to apply a tack-free topcoat and only cure for 10 seconds. This will leave the topcoat with a slight sticky surface. This is a must because the pigment needs to attach to the nail. You cannot apply the pigments to a completely cured nail. It can't be applied to a completely shiny surface. Use KoKo & Claire's Chrome Burnishing Tool to apply it. Apply it by dipping the rubber tip into the pigment and carefully rub or tap the pigment into the gel topcoat.

Here are the steps to apply our pigments to your nails:
Step 1: Apply 1 coat of a KoKo & Claire gel polish color and completely cure (45 seconds LED/2 min UV).
Step 2: Apply 1 coat of KoKo & Claire Shine Topcoat and only cure for 10 seconds. You need to apply a tack-free topcoat and only cure for 10 seconds. This will leave the topcoat with a slight sticky surface. This is a must because the pigment needs to attach to the nail. You cannot apply the pigments to a completely cured nail. It can't be applied to a completely shiny surface. Use KoKo & Claire's Chrome Burnishing Tool to apply it. Apply it by dipping the rubber tip into the pigment and carefully rub or tap the pigment into the gel topcoat.

Step 3: After applying one of the KoKo & Claire pigments, use KoKo & Claire's Luxury Dust Brush to brush away any excess pigment left on the nail.


Step 4: Apply KoKo & Claire's Shine or Matte Topcoat depending on what kind of finish that you want to achieve and completely cure for 45 seconds (LED) or 2 minutes (UV).
Helpful hint: Before applying a pigment, you can do nail stamping or hand painting & then put the pigment over top of that. It really gives your art a beautiful, clever twist!!
Show us your nails using our pigments by tagging us on Instagram @kokoandclaire. We would really love to see your work!!